Motivation
With the advent of various types of operators on top of Kubernetes platform, it might be useful to provide users with a fancy dashboard. However, dashboards these days are often written in JavaScript and libraries/frameworks like React.js, Vue.js or Angular. Kubernetes API on the other hand is a bunch of REST endpoints. So it all may look pretty simple, just call those endpoints from the app written in JavaScript, right? Unfortunatelly, it’s not that simple, because of the AuthN and AuthZ that is by default turned on in the Kubernetes REST endpoints and giving the bearer token to the client-side JavaScript app (in browser) might be a security risk.
Let’s dive into the problem and let’s code some very simple web application in the following couple of blog posts.
Design
Here is the idea. We know that client-side JavaScript app will by definition run on the client side, but at the same time we need to be able to access the K8s api using the token. So let’s split the webapp into two pieces:
- server-side: the rest endpoints with only those APIs that we will be calling from the client-side
- client-side: application in React.js
In other words the server-side rest endpoints will be transforming the incoming request to the request for the Kubernetes API. Because of the fact it will be deployed on a pod in k8s, it will have an access to the secrets with the CA certificate and baerer token representing the service account. So that RBAC can be controlled by Kubernetes itself. Our goal will be to list all the deployments in the cluster that have given label on them. This is a common pattern when working with operators, because it’s a good practice to label the resources it creates.
Part 1 - the server-side
Generate the project
We are lazy so we would like to write as little of code as possible. Let’s scaffold an example Express.js application using express-generator-typescript-k8s. It generates also the swagger specs (OpenAPI 3) and contains also swagger ui out of the box. It also comes with the preinstalled JavaScript linter, Kubernetes client, TypeScript and other goodies.
Install the generator:
$ npx express-generator-typescript-k8s --openAPI "rest-api"
Check what has been generated:
$ tree rest-api/src/
rest-api/src/
├── api.yaml
├── entities
│   └── Deployment.ts
├── index.ts
├── LoadEnv.ts
├── public
│   ├── scripts
│   │   └── index.js
│   └── stylesheets
│       └── style.css
├── routes
│   ├── Deployments.ts
│   └── index.ts
├── Server.ts
├── shared
│   ├── constants.ts
│   ├── functions.ts
│   ├── KubernetesClient.ts
│   └── Logger.ts
└── views
    └── index.html
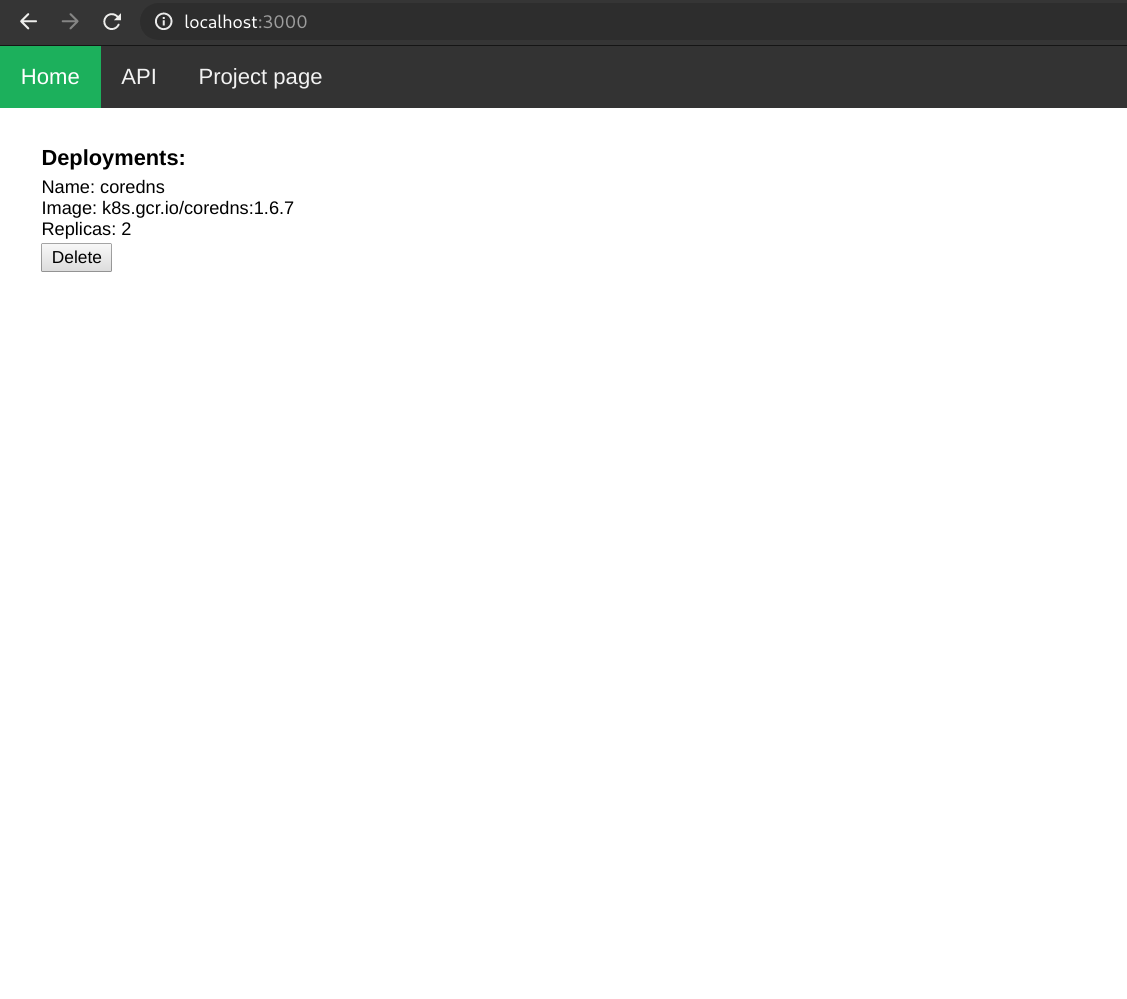
You can run the application in development mode by npm run start:dev and explore the simple web ui on localhost:3000. Here is how it looks like (assuming you have an access to a running k8s cluster):

It lists the Deployment resources in Kubernetes, so basically same output as the kubectl get deployments --all-namespaces. If you open the dev console in the browser, you can find out that the web ui calls the rest endpoint /api/deployments/, we can also try the curl http://localhost:3000/api/deployments/. The webui is vanilla javascript and css and we will not be using it. We will write a new fancy UI in react.js that will be talking to the REST endpoint. The kubernetes client is used in the src/routes/Deployments.ts and here is a self-explanatory example:
...
/******************************************************************************
 *                      Get All Deployments - "GET /api/deployments/"
 ******************************************************************************/

router.get('/', async (req: Request, res: Response) => {
    const k8sDeployments = await k8sAppsApi.listDeploymentForAllNamespaces();
    const deployments = k8sDeployments.body.items.map(Deployment.parseDeployment);
    console.log(deployments);
    return res.status(OK).json({deployments});
});
...
This is a good starting point. Let’s extend the example REST API and add an endpoint that would list all our CustomResources.
Custom Resources in Kubernetes
A lot of content has been written on this topic so I’ll try to keep it brief and stick to our task. For more comprehensive overview on this topic, I suggest the k8s docs.
First let’s define our CRD to have something to work with or we can use a real one from an existing operator. It’s common in the JavaScript land to have the todo app as the hello world, so why not to use highly sophisticated distributed system that can schedule pods as a memo storage? :)
example CRD:
$ cat <<CRD | kubectl apply -f -
kind: CustomResourceDefinition
apiVersion: apiextensions.k8s.io/v1beta1
metadata:
  name: todos.jkremser.github.io
spec:
  group: jkremser.github.io
  names:
    kind: Todo
    listKind: TodoList
    plural: todos
    singular: todo
  scope: Namespaced
  version: v1
  additionalPrinterColumns:
  - name: Text
    type: string
    description: The task to be done.
    JSONPath: .spec.text
  - name: Done
    type: boolean
    JSONPath: .spec.done
CRD
Now we can query the kubernetes for Todo resources:
$ kubectl get todos
No resources found in default namespace.
and create them:
$ cat <<CR | kubectl apply -f -
apiVersion: jkremser.github.io/v1
kind: Todo
metadata:
  name: finish-this-blogpost
spec:
  text: "Enhance the content with more self-referential stuff."
  done: false
CR

$ kubectl get todos
NAME                   TEXT                                                    DONE
finish-this-blogpost   Enhance the content with more self-referential stuff.   false
Add REST Endpoint
Now, that we are able to CRUD our Todos in Kubernetes using the CLI client, let’s extend the REST api to do the same.
To follow the project structure, we will create a new router for express.js server called src/routes/Todos.ts with the following content:
example for ‘get all’ (full version [here](todo: link na github)):
/******************************************************************************
 *                      Get All Todos - "GET /api/todos/"
 ******************************************************************************/

router.get('/', async (req: Request, res: Response) => {
    const crdClient: CustomObjectsApi = k8sKubeConfig.makeApiClient(CustomObjectsApi);

    const k8sTodos: any = await crdClient.listNamespacedCustomObject('jkremser.github.io', 'v1', 'default', 'todos');
    const todos = k8sTodos.body.items.map(Todo.parse);
    console.log(todos);
    return res.status(OK).json({todos});
});
We also need to register the new router in src/routes/index.ts and create the entity called Todo, clone the git repo for working version.
After restarting the app, we should be able to call the API:

\o/
Conclusion
We have a working REST endpoints that provide access to our custom resources in K8s cluster. This concludes the part 1. Stay tuned for part 2.